So here it is, custom black kikaider. The original Black kikaider costs about S$120. I did this commission for less than half of that ;p simply because I under estimated the amount of work required for it. Beware and always think though the process before the custom!!

The Kikaider figure I was told to use to make the black version custom was from the Kikaider and Side Machine set. The original lack kikaider figure follows the same mold as this set.
First thing first, sand the figure as much as possible.
Then paint all the on transparent surface with a dry layer of metallic silver. I did 2layers of this silver to make sure the later black layers shine.

Then paint brass paint (mixed with a slight touch of transparent orange to make it look more gold) over those relevant areas.
Next, paint a gloss bright blue layer over the areas where there are suppose to be blue lines. You will probably need 2 layers of these gloss bright light blue layer to make sure they will shine out amidst the black later. Don't worry about overspill. That will be taken care of later.

Next come the crucial part but before you proceed, take apart the figure first so that its a lot easier to paint later. Next paint clear orange over the transparent areas. Make sure mix a lot of thinner over a lot of clear orange and spread them over the transparent area (and the belt buckle) to ensure the orange color shines though.

The most challenging (or frustrating) part comes next; painting gloss black over most of the figure's area. Normally painting gloss black is a joy as gloss black don't require a lot of layer and it practically covers any color beneath it without them showing though. However, for this custom, there are lot of thin blue lines across the body that criss cross around the gloss black areas... a lot ;p
First I paint as much of those areas not affected by blue lines as much as possible as fast as possible. I paint the areas between the blue lines as well. I let these dry and then I get down with a tiny brush and patiently painted the edges of each blue lines with gloss black. It took hours and a couple of layers to make the gloss black shine out.

After all that, I have to go though the entire body to do touch ups e.g. areas not covered by the gloss black layer (they are very obvious as they stand out against the dark gloss black and very annoying, these need to be settled before the topcoat or the custom can be spoilt), overlapping gloss black paint over areas where gold or light blue lines should be, etc.
Lastly, when all the paint has dried, I sprayed a layer of gloss topcoat over the figure and let that dry.
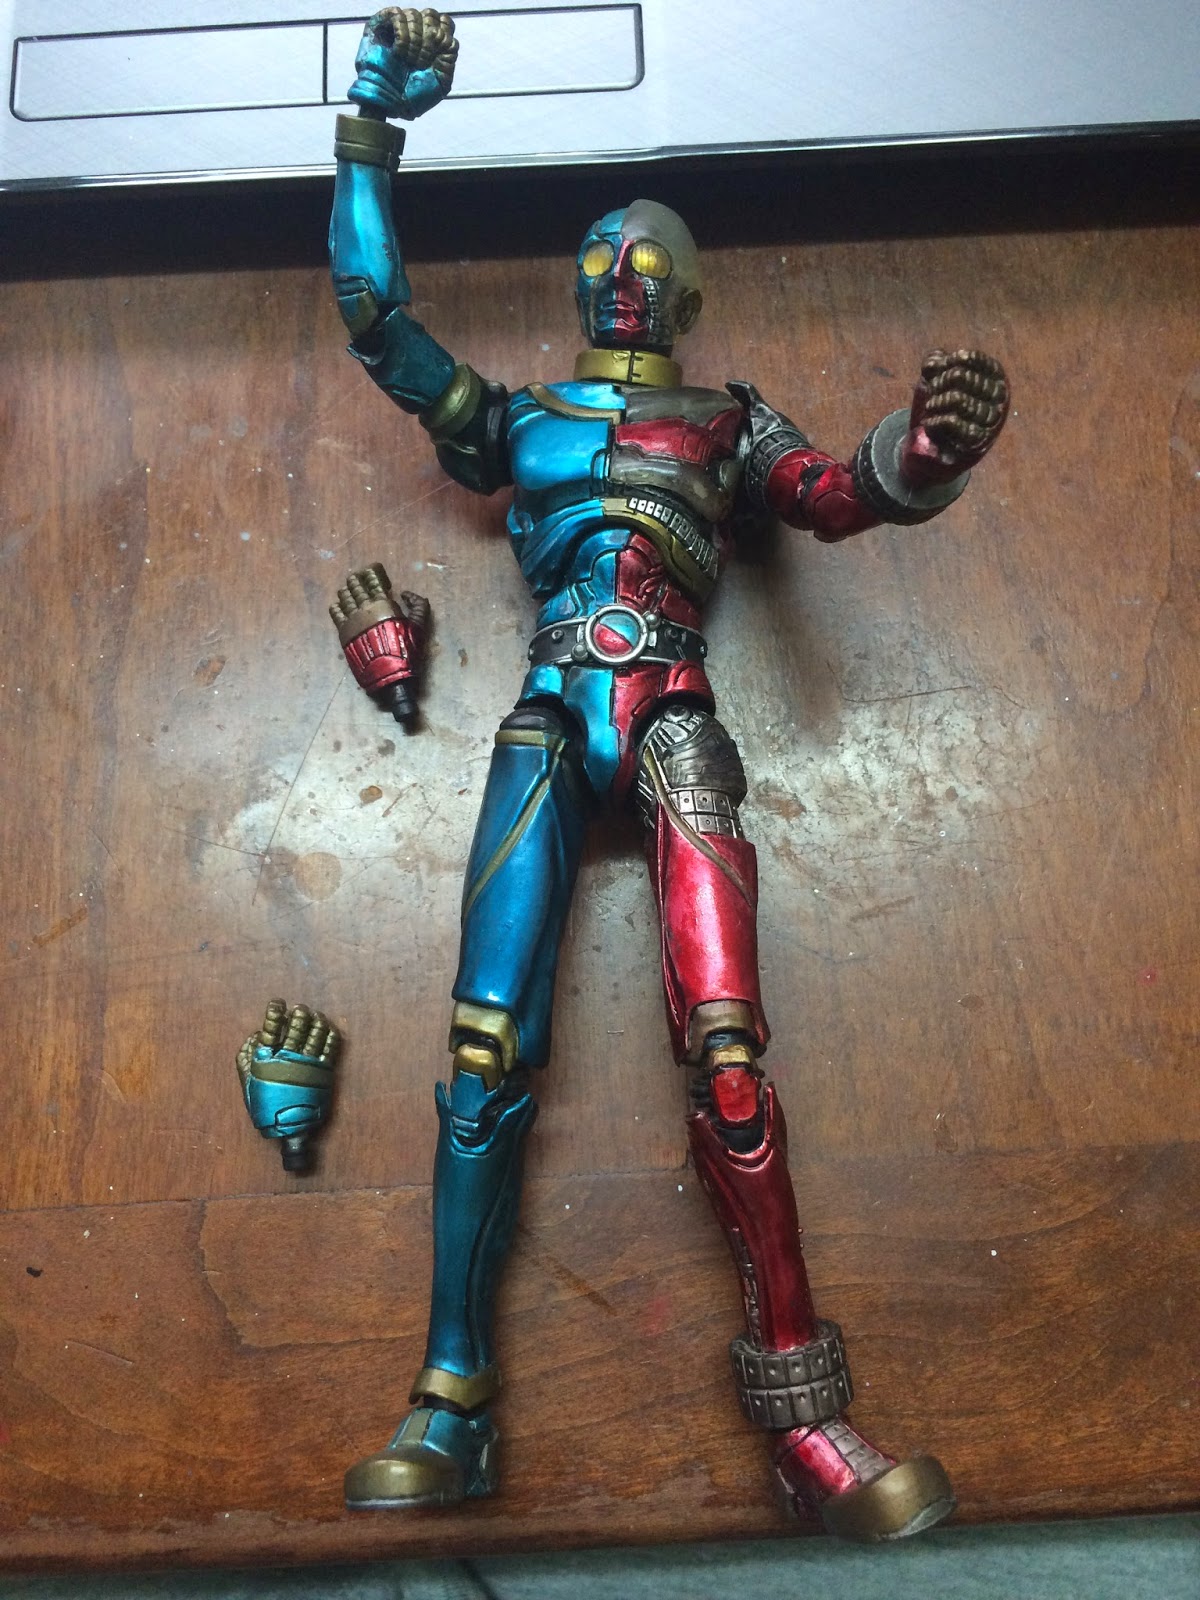
At last done, the figure actually looks more glossy and more golden than in the photos below but my iPhone don't seem to capture that zzzz. There were a couple of overlapping paint areas I missed and later repaired after I took the photos below too.


And that's it. Until next time :) If anyone wanted to message me, please be patient as I will be quite busy with work next couple of weeks so I might be slow in replying, maybe.
No comments:
Post a Comment