
I have actually being planning to make this guy for quite a while now but the last few months have being tough in real life and I didnt have the mood or time to look into doing customs. So that has finally lifted with something that came up and I am very thankful for it.
So I quickly finish this custom that took a little over 4 days :)
For anyone who is not in the know, Kiwami is the 4inch version of regular SICs. The regular SIC already came up with a Zeronos Vega Form which i love a lot. So I thought it would be cool to have a kiwami version as well.
Luckily for me, I have just the material i need to make this: I.E a kiwami den o sword form spare body AND (this is important to save you a lot of time) a Motion Revive Series (MRS) Zeronos Vega Form (see photo below).
The custom is actually very simple as it involve mainly duplicating the details from the MRS figure and adding it onto the kiwami den o figure.
First, some prepping of the kiwami den o figure is necessary.
Cut off the chest, the back pack and the belt buckle of the figure:


Pull and cut off the eye mask from the head. Cut the mouth piece off as an individual piece which you will need to reglue back on the head later. Shave off some of the head's overall resin as well (especially those railway tracks at the back of his head, zeronos vega form has 2 tracks instead of one on sword form).

And here is the body of the MRS zeronos vega form fgure. It has excellent detail for the chest and the belt buckle. The MRS head too has good head sculpt. All of which are perfect templates to be duplicated onto the kiwami figure :)

Using Oyumaru resin (see photo below) duplicate the eye mask, back of the head tracks, back of the body, the chest and the belt buckle from the MRS figure. For the eye mask, I used clear epoxy putty 5 min devcon to make the transparent eye mask (ok actually for this custom i used the cheap tube clear putty version which has high risk of forming bubbles but i ran out of devcon putty ;p i lucked out as I managed to remove most of the bubbles from the putty [have to do it within 30 seconds before the putty hardens] to holes appearing on the duplicated eye mask.)
For the duplication of those tracks at the back of the MRS body, a different technique needs to be used. This is because the MRS' back is smaller than the Kiwami's so the tracks from the MRS would not be long enough to cover the kiwami's back. In order to make this possible, the epoxy putty fixed onto the oyumaru mold of the MRS back will need to be removed from the mold while it is half dried. By doing so, the half dried epoxy putty duplicate of the MRS' back of the body can be stretched and straigthened a bit to cover the kiwami's back. Glue the stretched and straigthened epoxy putty piece onto the kiwami's back with super glue and let it dry.

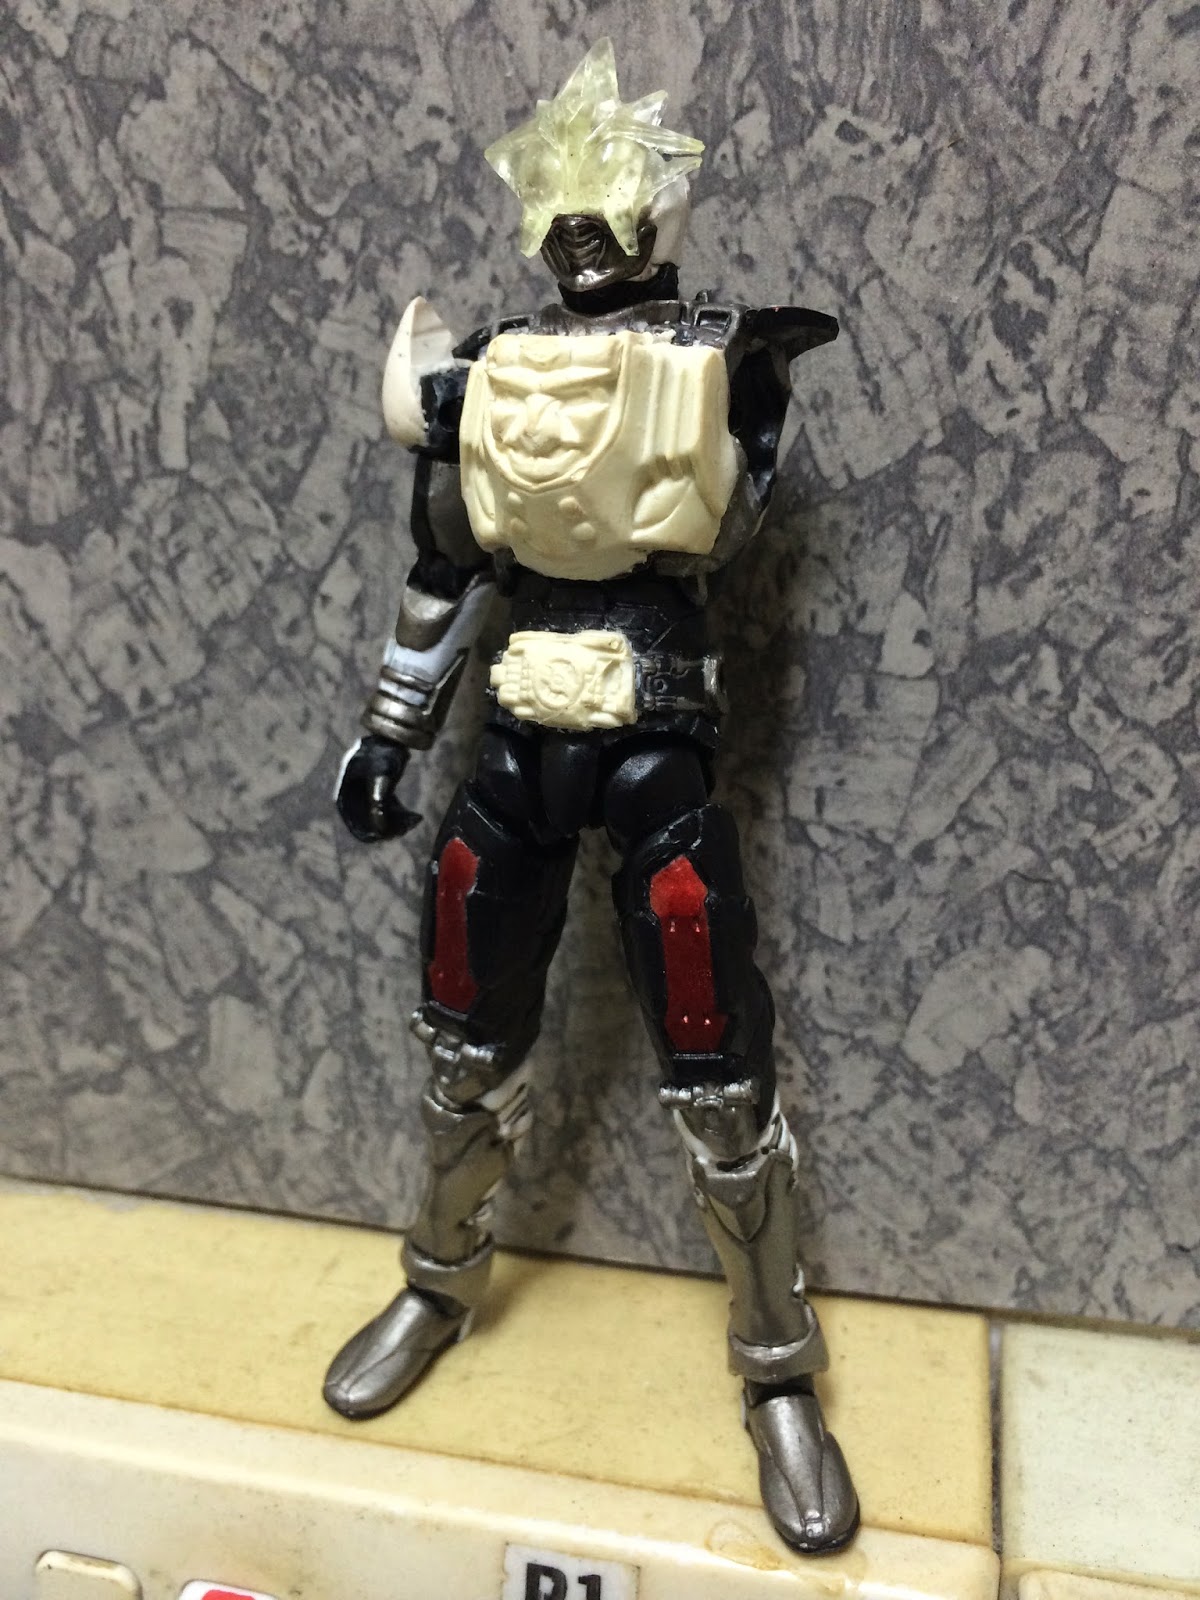
The result from afixing the duplicate parts onto the kiwami body can be seen in the photo below. For the shoulder armor, for once I feel the MRS figure was unsuitable for duplication as it was not SIC styled enough. As such, I have to sculpt them out myself.

For the duplicate eye mask that was using clear putty, let it dry in the mold for at least over night to make sure it wont turn sticky. This is important. Once you have removed it from the mold, paint the back of the clear putty piece with silver metallic paint before afixing it on the kiwami head with putty. The silver paint layer will reflect light off from the eye.
For the cape, I extended the plug point using those gundam spare so that it can be secured properly onto the kiwami body.

Drill holes at the back of the kiwami figures. One at the middle of his back to fit in the cape. Another 2 on his shoulder to fit in the sockets for the double ball joints to connect the body with the hsoulder cannons. I drilled holes onto the shoulder cannon parts and glue in the ball joint portion. Those ball joints connectors can be found at hlj.com.

From the photo above you can see how the putty piece for the back of the body are afixed onto the kiwami's back using super glue. I made sure there is a portion that is not blocked by the putty to allow the cape plug to be able to plug into the drilled hole at the kiwami body's back.
For his armaments, the MRS again come to the rescue with its modled zeronos piece. I cut off those MRS armaments and glue them onto the kiwami piece.

For his giant sword, I used the smaller unevolved sword part from the SIC set and using kiwami armament pieces to form his hilt.To keep the pieces together, I drilled holes in the armament pieces and the sword piece and placed hard metal wires within before glueing the pieces together. Refer to the photo below to see where i placed the metal wires (the part colored in bright red).

We are almost there. Cant be seen from the photos but I did some detailings on his cape and shoulder cannon capes as well.


No comments:
Post a Comment