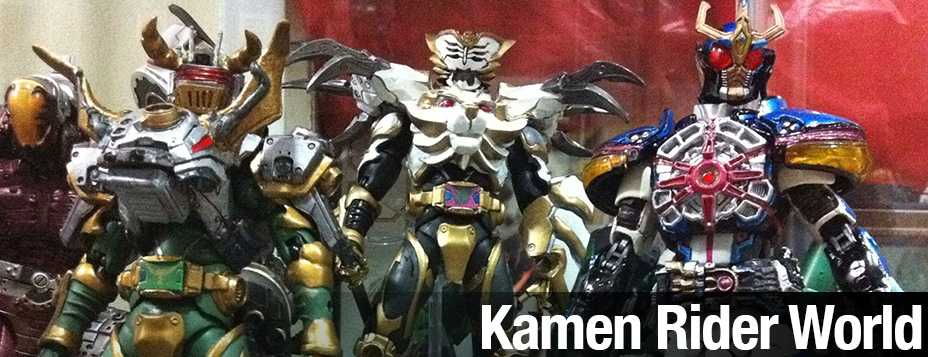

One day I was rifling other customiser's photos on facebook and happen to come upon a sight that immediately gave me inspiration! This friend of mine created a den o wing form using a Kiwami Tamashii Den O Gun form body! It was so simple Ididnt think about it! However, he didnt make wings for his custom den o wing form which I think is a crucial part for a wing form custom. I thought I could go to a hardware store and start buying small wheels, metal parts etc to form a pair of miniature wings for the custom but that was so much work for such a small custom! I let the idea hang in the air for a few days until one day I was walking around in a shopping mall and my kids wanted to go Toy R Us. We strolled around until i came across something that I see will work quite well as my custom den o's wings! I bought it without hesitation costs me about $18 but its ok, I can always resell it at a loss later. You will gtet to see what it is i bought later but needless to say, my custom was made and here is the tutorial for it :)
Firstly, lets talk about the materials required for this custom:
1) Epoxy putty (of course)
2) Liquid transparent putty (this could be a big problem as this material cant be found in Singapore or Malaysia, not that i know of anyway. I bought mine from the UK via ebay. Just search for "Devcon 5 min epoxy syringe)
3) Oyumaru resin (this is a must and unfortunately this is even harder to find compared to transparent putty, (thanks to a friend who managed to locate it for me, you can find it here: http://www.singahobby.com/?q=node/26856. The price stated there are outdated, it has almost doubled half a year ago -_- luckily i already bought some before the price hike)
4) blade from stationery shop
5) line engraver
6) cup of water
7) white spray paint
8) brass, white, black, metallic silver, metallic blue, clear blue paint from Mr Color (or any other brands you are comfortable with) plus primer spray can
9) washer paint (for linings, generally easy to find but not that cheap)
10) bits of plastic sheets (can use those plastics cut off from plastic water bottles)
11) super glue
12) metal wires
13) toothpicks and my trusty ear digger ;p
14) topcoat clear
15) Hand drill
16) 2 Revoltech 8mm single joint
17) secret materials you will find described below. Not a necessity if you have time to spend to made sculpts of the visor and the wings
From the looks of the above materials required, it looks like a lot of stuff!! However, I can't stress enough the importance of some of those materials to make your custom more crisp, more lasting and more detailed. You can skip some of the above materials such as washer (if you dont want to do linings), or metal wires (if you dont want your wings to be tougher and harder to break from shelf dives), or topcoat (if you dont want your paint colors to be protected and lasts longer) etc etc so its up to you.
Now for the custom steps itself:
Step 1 : Visor and belt buckle.
My second objective (my first is always to only make customs that looks cool or sends a message) of any of my customs is to always make things simple and fast for me. I know for a fact the hardest part to sculpt would be his belt buckle due to the size and details. If I were to do it myself, I will need to really make sure the details are there plus probably need at least 3 layerings of putty to make sure each part of the belt buckle stands out. I got lucky for this custom as I already have something in my possession that can help reduce the work necessary for hte belt buckle and that thing is none other than a Motion Revive Series Den O Wing form figure :D (see photo below). Its about 3.75 inche tall and super articulated. I recommend anyone who likes 3.75 inche figures to buy it. Its a good substitute for figures not covered by Kiwami Tamashii line.

Using Oyumaru resin, I cast a pair of epoxy putty visors (see "A" above) and belt buckle (see "B" above) from the Motion Revive Series (MRS) figure, see photo below. (For the uninitiated pls see link on how to use Oyumaru resin: https://www.youtube.com/watch?v=vHmk6kgYA-w, its very simple). On hindsight I should have cast the belt buckle using clear epoxy, would have been slightly cooler.
See photo below.

Since the MRS sculpt for the visor and belt buckle isnt detailed enough, I carved more details on to the belt especially on those wings around the round belt buckle symbol. For the visor I cut up parts of it to make it less bulbous and more angular and made 3 lines across each of the visors.

Once I was satisfied with the shape of the visor, I used Oyumaru resin to form a mold for the resculpted visors. I then mix and pour transparent putty on the resin to form transparent visors. I have to perform this 3 times as the first two didn't form well and have bubbles. Once its done, paint the transparent visor with clear blue at the front and metallic silver at the back (to reflect light). Leave the visors alone for now to be attached to the head later on.

Step 2 : The Wings
That THING i managed to find at Toy R Us is actually a transformers toy ;D Called Skystalker. When I laid eyes on his wings I knew i have found the right sculpt to fit on Kiwami Den O Wing form ;D

So, once I was home, I used Oyumaru resin again to form a mold from Skystalker's wings. I then cut up several pieces of metal wires to act as a skeleton for it (see photo below). The wires will protect the wings in case of shelf dives which may crack the putty and shatter it if it wasn't reinforced with wire skeletons. See photo below.

Once the above are done, take out all those wires from the resin mold. Then push in epoxy putty onto the oyumaru resin to form the wings, see photo below. Then before the epoxy putty dries, push back in those wires into the epoxy putty wing. Use your nail or toothpick to firmly push the wires in as much as possible then use your finger to smoothen back the surface of the epoxy putty wing to hide the wire skeleton.
To attach the wings to the back, I used a revoltech 8mm single joint and plug it into the putty wing before it dries. When it dries it will firmly attach to it. To make it attach better, you should use your handdrill anddrill a tiny hole on the stick joint of the revoltech joint, glue the wire skeleton on it before plugging it onto the epoxy putty wing.
You will also need to drill 2 holes (width must be same with the width of the stick joint on the revoltech joint) on den o's back for the revoltech stick joint to be inserted in.


Now if you look at the photo below you will notice some of the putty are missing certain small notches or holes or some tiny bubbles have formed on certain surface. You will need to seal those holes/ notches/ deformities up with putty again once the wings have dried.

Step 3: The shoulder pads
First, you need some foundation to stretch the shoulder pads sculpt from his shoulders to across his chest. I used some small pieces of plastic sheets as a foundation. I glued these plastic sheets on the shoulder pads itself forming extentions (see photo above). Use putty to form wings like shapes on the shoulder pads. The plastic sheets will act as the foundation for you to lay your putty on. See photo below. Use line engraver to form details on those wings. You are all done with the sculpt itself. Time to paint the figure.
Step 4 Painting
Ok painting this guy is a joy since there is not many type of colors required and i love painting brass/ gold colors. You however will still need to do the basics first i.e. sanding and priming it first. Sand the surface first then use a primer can spray to cover the body, makes surface a little smoother and paint easier to stick on later.
I didnt need to repaint his lower legs or his neck so i used some celaphone tapes to cover those areas while priming.

Next comes my favourite part, painting everything super metallic silver. This will give a better shine.

Once the base colors are done (primer + silver). Next paint the outer colors which are gold and white. Before i paint the gold on his belt buckle i painted the insides metallic blue first. I also painted that front part of his thigh pearl white silver to make it stand out from the white of the thighs. Touched up his head with metallic silver, gold and black as well.

Finally you are almost done. Let everything dry, do touch up on overlaid colors where necessary. The next part is the coolest yet challenging; using your tamiya washer to do the linings. I found that even the washer brush are too large for certain linings on kiwamis so there will be parts where the black paint splash on the surface instead of the crevice/lines. You will need to touchup again later to remove these black stains. I did lining over his entire chest, shoulder pads, his abdomen, belt buckle everything!


Next I wanted the wings to appear as if it was airbrushed white. I still dont know how to use my airbrush so i used my white color spray can to spray white over the edges of the wings, see photo below. Painted the replicated weapons too.

Yes! We are finally done! Once all the paint dried, spray a layer of topcoat gloss over everything to protect the paint job :D And here is the gallery portion, enjoy! Scroll all the way down to see whats next ;D

The photo below will show you where i drilled 2 holes on den o's back where the wings can be inserted. To make it better you can chose to drill a 3rd hole somewhere right in between the 2 holes to allow 12 inche display stands to be attached on it to reduce the weight pressure of the wings on the den o legs.


I was suppose to add more details to the wings by adding in wires and mechanical stuff but got lazy so i left it in the skeletal state below. Also the wings was getting heavier and heavier nearing the point where the body wont be able to take the weight anymore.


No comments:
Post a Comment