
All right for those who has been following my blog, you will know i bought a bunch of kiwamis some time back and whats better to do with them than make customs out of them. Not to mention customising kiwamis is a lot easier due to its size and it doesnt clutter up my desk. For the uninitiated, a kiwami figure stands at nearly 4 inche compared to the normal SIC which is at 7 inche.
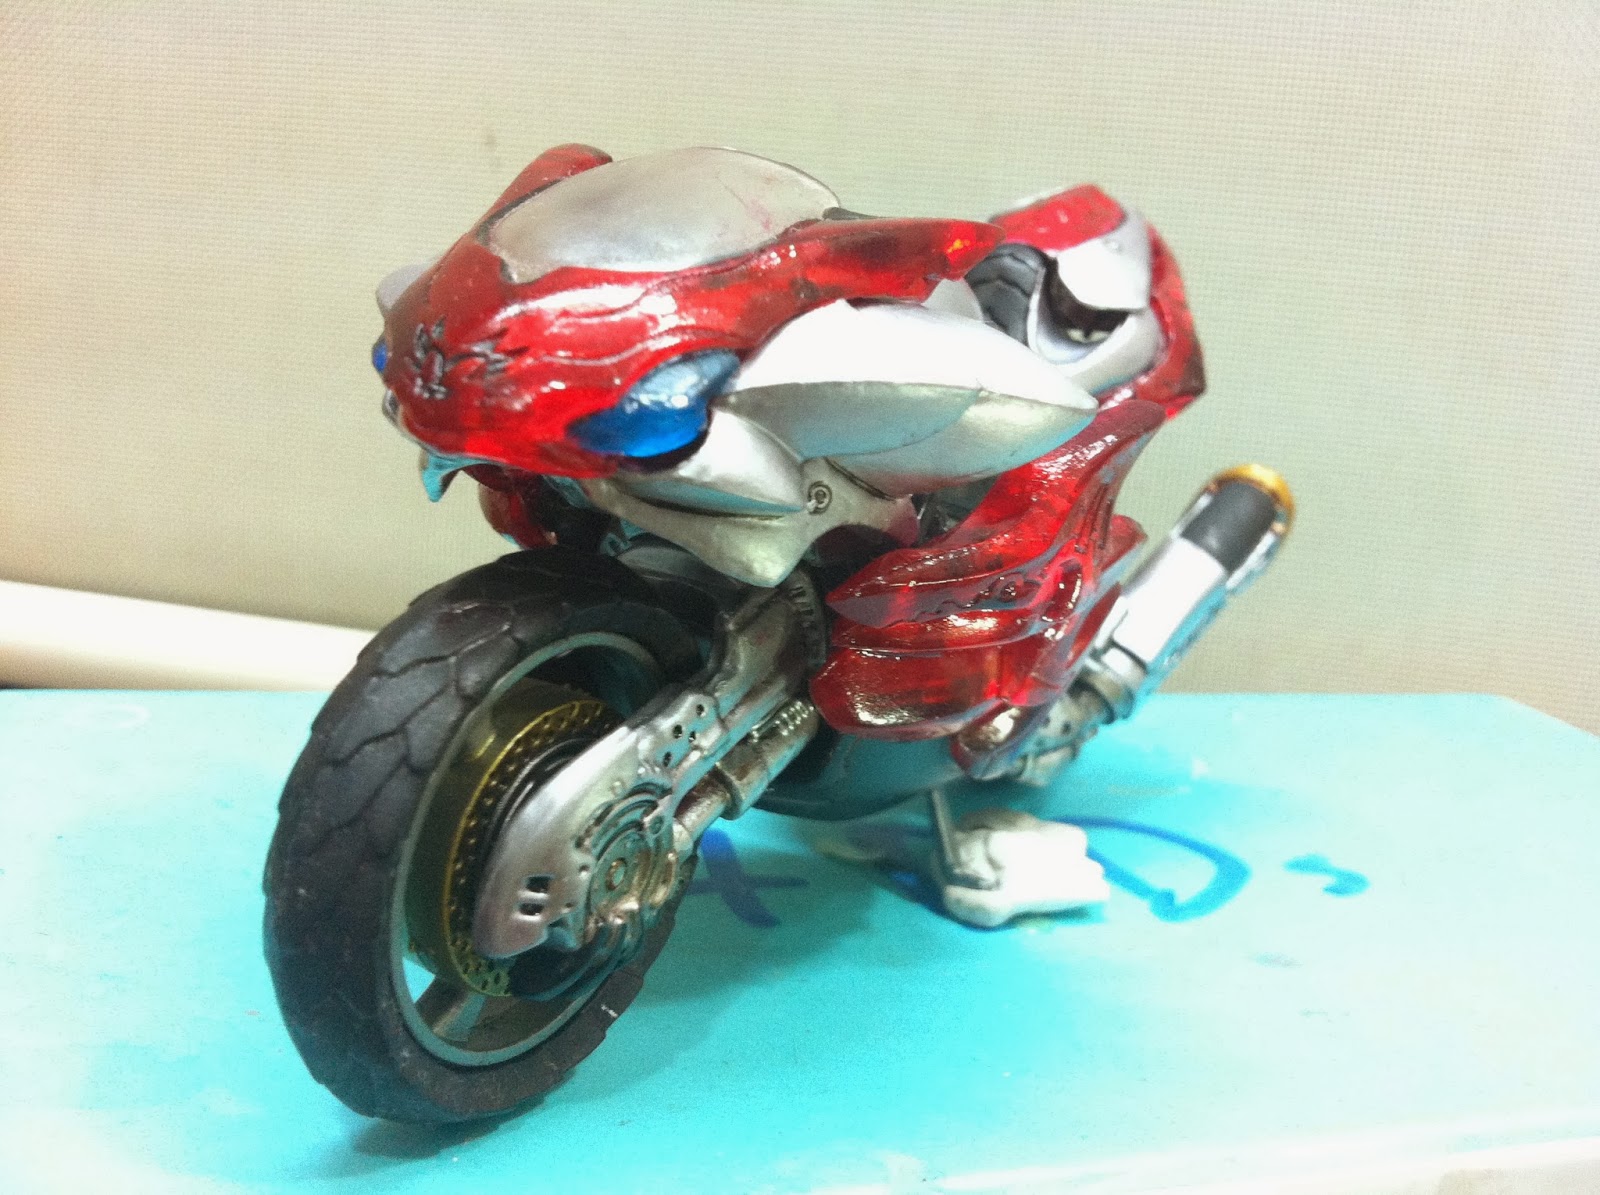
So I got a spare kiwami tornador. Didnt know what to do with it until i saw this nice sic takumi alternate tornador (see photo above) and realised i can change my kiwami tornador (see photo below) into that plus a bonus of changing an kiwami agito ground form into an agito shining form :D

I know some of you must be thinking "oh its just a repaint" and I do agree, its just a repaint, no resculpt involved. However, I cannot stress more the fact that repainting something isnt just as simple as slapping paint on the surface and thats it. Yes, you can slap on a layer of paint and thats it, its a repaint but to do a good repaint you need to make sure a few steps are done to (1) ensure it is smooth, (2) lasts longer (3) shines in the right color you wanted.
I am still learning in this aspect but I will show you what i know from my basic knowledge on at least the basics in repaint.
All right, first off, sand every surface you need to repaint, this is to allow the paint to secure better on the surface plus remove some of those red paint (this will make it easier to replace the red with metallic silver later).
Now we need to change those transparent surfaces from orange to red. You need to clear as much as possible the orange paint on the surface. You wont be able to clear them all as its kinda embedded into the clear plastics already. Luckily orange and red mixes unlike say for example orange with blue. So even though you have some orange color left on it, it wont affect the overall red. If it were clear blue you paint over it it might turn a little purplish.
Once you cleared the transparent orange with color remover, you also have to remove that metallic yellow layer at the inner surface. This inner metallic yellow layer serves as a layer to reflect light when it is shined on it by light bringing out the transparent orange color. I wanted to remove it so that i can replace it with a metallic silver layer to reduce the yellow/orange-ness of it and reflect the clear red layer i was going to paint on the outer surface later. So its off with the metallic yellow layer and repainted metallic silver (see photo below).

Once thats done, paint the outer surface of the transparent areas clear red. See photo below.

Note how shiny those clear red can get thanks to the metallic silver underneath reflecting light off it?

Now once the clear red dried, start repainting those red parts into silver. See photo above. You will need to paint at least 2 layers of metallic silver coz silver over red dont really mix and the red will show through. Only by at least 2 or 3 layers will the red be covered with the metallic silver. You should also paint metallic silver over the part of the top back of the bike (which was in matt black originally). This area will be added with a clear red layer after the metallic silver dried to give you a glossy blood red scheme (see photo below top right).
Next cover the metallic silver inner surface of the transparent parts with clear red as well (see photo below bottom left).

You are almost done, see photo below. Once everything dried, start doing linings.

Finally, use a white washer (thinned out paint you can find these at hobby shops, not cheap though. you'll be asking "why can't i thin my own paint instead of buying this?" the answer lies not in the paint but in that very thin very absorbant brush that comes with the washer. The brush is what makes the washer have the ability to create those fine lines on crevices just by touching it on the crevice) to make lines over the bike for more details. A final question some might ask: "why do i need to do linings? does it really help enhance the details?" the answer is of course "yes" as you can see from the comparison photos below:
Remember to spray a coat of clear gloss coat over it to protect the paint!


Well thats it, enjoy the remaining galleries of the KIWAMI shining tornador post linings:


Lastly here is a comparison pic between the original tornador and the shining tornador (unfortiunately this is pre-lining pic ;p didnt take one to compare post lining).

Now the fun really starts with the custom of kiwami shining agito ;D but thats another part. See ya next time!
7 years ahead, this is great tutorial man! time to do some paintings! thanks much!
ReplyDeleteWow Ive actually nearly forgotten I have this blog until a notice showed up you commented lol
DeleteThis comment has been removed by the author.
ReplyDeleteI know more about the Swords now than I did then, thanks for the sharing relevant query ..
ReplyDeleteGladius
Chess Set
Viking Axe