
There is actually a step for the giant shoulder pad i have not explained in part 1. Previously i have mentioned that to connect that 3 pieces of putty layered plastic sheets to form the front, back and upper layer of the giant shoulder i used a lump of plastic/rubber as base. What I didnt elaborate was that I used a gashapon one piece layzner back pack to make that base. I broke the layzner arm joint before this so it was pretty much useless and I got a much bigger version anyway. See photo below, thats not a one piece version but a bigger version. I just wanted to point out which part i used. The part is the one highlighted in yellow lines. Its a thruster-like backpack thing. I used that as a base for the 3 putty/plastic sheet parts to be glued on to form the giant shoulder pad.

The good thing about using this layzner part is i like how i can position those thrusters as part of the inner design of the shoulder pad. Imagine Caucasus can have a boost in his jump or rider kick with those thrusters ;p And the layzner part also protrude out of the top of the shoulder pad (see the grey part of the pad in the photo below) forming some sort of design for the shoulder pad. I have made some changes on the top as well by adding in some glued in plastic sheets that forms a sort of vent (again see photos below).

Once all that was done, add a silver layer of paint on the shoulder pad followed by metallic yellow paint. The parts of the layzner and the plastic sheet vents i colored them with iron color paint.


The photo below shows how the layzner thruster looks like. I also added a piece of cut up small vent part from kabuto's original inner shoulder pad to add to the design. Voila the shoulder pad is done :)

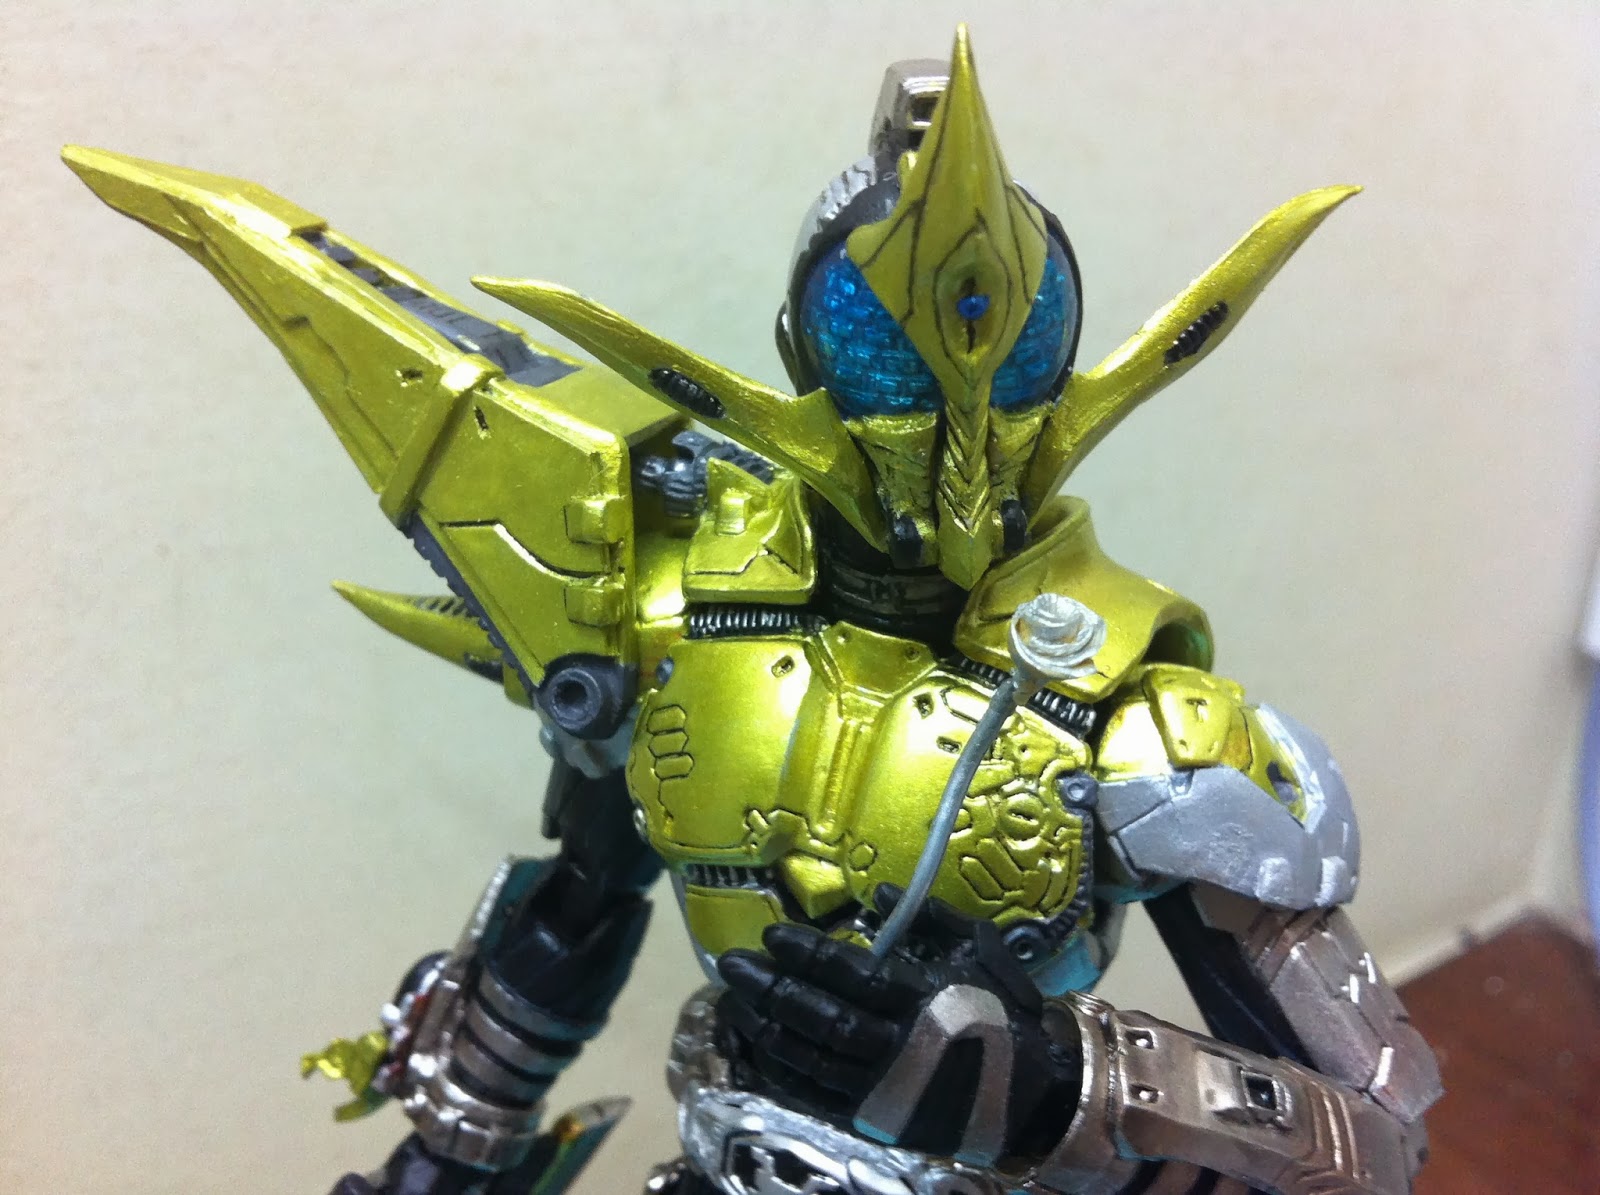
The final part is of course forming the head sculpt. The last thing i need to do after forming those whiskers and detail along the middle of his face, was his middle horn protruding out of his forehead.
As a first layer, I added putty on him to form a horn like sculpt, see photo below. You dont need to be precise or anything but you must leave a hole right at the front center of the horn as that part forms the indent to insert the blue "pimple" on him later.

The final layer after the first layer dried was to properly form the horn as it should be. See photo below. After this layer dried, i used my paper knife to cut the front center indent into a hole as seen in photo below. Let everything dry. At this time i started using small pieces of putty to form a few round balls to form the front blue "pimple". I made several balls just to make sure one of these balls is the right size to be used later on. I let these dry as well.

Finally, I added a small portion of putty on that front center hole to form the indent. Before the putty dries up, i use a right sized putty ball and pushed it half into the surface of the putty indent to form the blue pimple you see in the photo below. Let everything dry again. I then used my line engraver to carve lines on the horn. Its finally done. I used sand paper to sand every thing and make sure the horn's edges are sharp to make it look distinct. Again paint first layer silver and metallic yellow as final last couple of layers. Paint the pimple with metallic blue. Paint the eyes with clear blue. Voila we are done with the head!

Caucasus's beetle is different from kabuto's. Kabuto is a horned beetle where as caucasus is a ... err different kind of beetle. So some modifications were in order. I used kabuto's beetle and cut up the main horn into 2 pieces and re-glued them on to the sides of the beetle. The parts are cushioned by some tiny rubber pieces i cut up to make that two side horns facing front. I also add some small piece of putty on the back of the beetle to smoothen it. Repaint the whole beetle black and metallic yellow and added the zect logo design on the carapace. Glue the beetle on caucasus lower arm. Done! :D

Oh one final detail, Caucasus loves blue roses for reasons unknown. He cant even smell it in his armor probably zzz but its his symbol so you cant do without it and I needed to make it.
I used a piece of wire as its stalk. I then use a tiny roll of putty to form the rose itself. First I flatten the roll of putty and leave it like that for half an hour. Then when its a little more dry and harder, I slowly and painstakingly roll it into a form of a rose. I then attach it onto the wire. I use tiny pieces of putties to form its leaves. Before attaching it to the wire, I used my paper knife to cut the leaves pattern. After everything dried, color it silver and then green and blue.

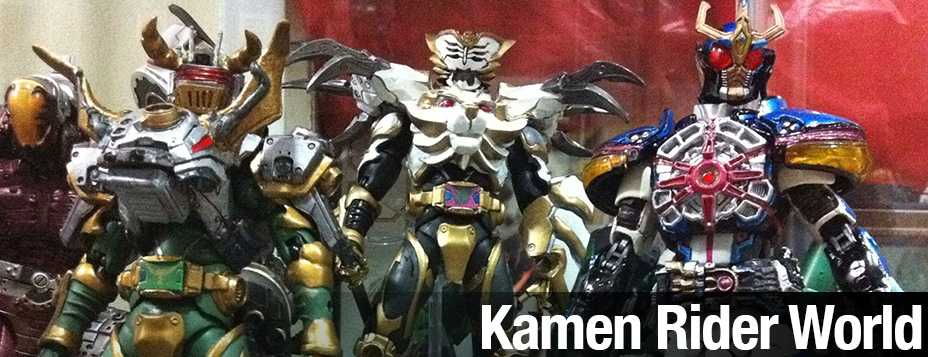
And there you have it, SIC Caucasus! :D Pls enjoy the remaining photo album below. See you next time!


I finally painted the rose up ;p


No comments:
Post a Comment