
Before we proceed with the custom tutorial, lets have a short summary of Kamen Rider G3 Mild:
Kamen Rider G3 is from the Agito Series. Its basically a exo skeleton suit developed by SAUL to battle the Grongi based on Kuuga's abilities. the G project was shelved as it was completed only after the Grongi was eliminated. However, with the appearance of the Lords, the G project was revived and the latest version G3 was recommissioned to face the new threat. G3 Mild was the test model for a mass production G3 army. Takahiro Omuro was the pilot of the G3 Mild. He later become squad leader of the G5 unit.
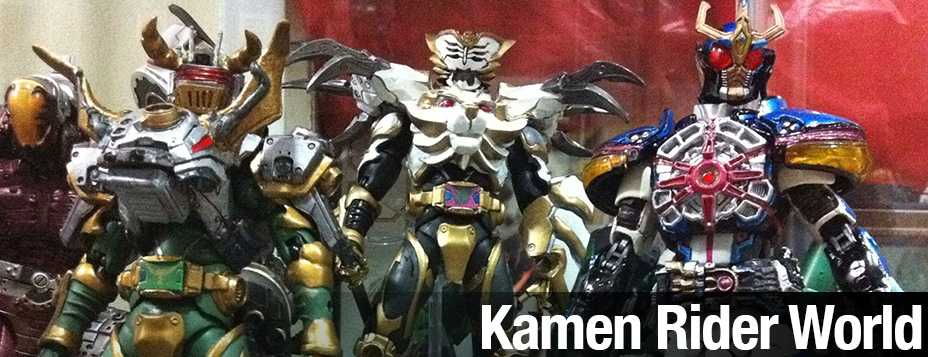
I'll like to take this chance to show off how SIC enhance a kamen rider character to bad-ass disposition:

Back to topic, this tutorial is to teach anyone who'se interested to make a custom G3 Mild. For the slight resculpt and repaint G3 Mild have compared to a normal G3-X, I feel its not worth paying SGD150 for one. Better to just resculpt it yourself and it is not hard either (with practice ;p).
Now, before we start, I want to make a comment that I have yet to figure out a good way to change G3's eye color from red to G3 Mild's orange :( I'll elaborate more later.
All right! So lets get down to what you need to make this:
1) a G3-X figure with G3 chest piece
2) some tooth picks
3) a needle or pimple needle (this is crucial for this custom)
4) epoxy putty
5) super glue
6) black liner pen
7) some paint: white, metallic silver, and clear red
8) twisty from any old SIC box sets
9) sand paper
Here's a photo of a G3 and G3-X original figures. I have highlighted those pieces of armor that you should use to minimise repaint when you custom a G3 Mild:

Now that we got that down pad, we can begin with the resculpt.
The only part requiring a resculpt would be G3's head. For the head, you need to remove the following parts highlighted in red by cutting them off using a blade. The parts i marked as "A" which are the antennas will be retained to form G3-Mild's shorter antennas. the rest will not be used. Cut the antenna down to size by cutting off the upper length of the antenna. The lower lenght of the antenna will be used as G3 Mild's antennas:


Now use putty to reform the head sculpt into a G3 Mild design. Attach the cut off antenna on the putty. At the same time, lump some putties at the sides of the heads to act as foundation for the resculpted G3 Mild radio/receiver-like ear muffs. Let the putty dry. Once they dried, sand the putty parts on the forehead.
Now lump putty on the sides of the head and start forming them into the G3 Mild design shape. For the small square with a screw design on the ear muff-like design, use a toothpick to form the square. The toothpick will need to be cut into a "negative" screwdriver shape to form the square. for the screw design in the square, use a needle or a pimple needle (I use the latter as it gives me better grip and I cant' find a needle in the house ;p) to poke and shape out a screw. This can be done by repeatedly pushing in the parts that does not form the screw. It takes a lot of patience to do this part. Repeat the same thing on the other side of the head. For those tiny bolt holes design you see on G3-Mild's "ear muffs", use a the end of a twisty and poke holes on the putty ear muffs. This will form the tiny bolt holes, simple and easy.
For the antenna that comes out from the right side of the head/ear muff, I used a straight wire which i poke onto the putty ear muff before it dries. Once it dries, I use more putty to form designs on the antenna. See photo below for the final product. Once all the putty dries, sand them.


You will finally get the results as the photos below. Hope you enjoy the tutorial! :)


After production notes:
Now that i am better at manipulating putty, the thing I would have done differently would be those ear muff sculpts. Instead of shaping them up when the putty is still loose, I would form a rough shape with hte putty then let it dry for about half hour before i shape the "ear muffs" into a better shape. I will then waitfor another 15 - 20 minutes before i cut edges on the ear muffs. You can't cut sharp edges on putty so let them dry awhile first. So yea, thats about it. Until the next time! :)
Lastly, I thought of a method to make orange eyes for custom G3-Mild. Those clear red on G3 eyes can't be wiped off using paint remover or thinner. So what can possibly be done is to cut off those eyes first. Use putty to shape a foundation first and then paint the foundation with metallic silver paint. Once that dries, use Araldite or syringe clear putty to form clear eyes. Once the clear putty dried, repaint them using clear orange. I have yet to try this method yet though ;p
Here's a photo of the SIC G3/4 family:


i can fix a joint for g3.if u want to know how.plz email me
ReplyDelete